> ## Documentation Index
> Fetch the complete documentation index at: https://docs.li.fi/llms.txt
> Use this file to discover all available pages before exploring further.
# Testing Integration
> Set up your solver identity, register addresses, and test your integration on testnet or mainnet before going live.
## Step 1: Account Creation & Identity
Currently, solver identity is managed through a standalone dashboard.
1. **Register:** Go to the Solver UI: [intents.li.fi](https://intents.li.fi/) (or [devintents.li.fi](https://devintents.li.fi/) for testnet).
2. **Set Identity:** Choose a **Solver Name**. This is a permanent identifier used for your API keys and reputation tracking.
3. **Generate API Keys:** Create an API key in the dashboard. You will need this to submit quotes to the [`/quotes/submit`](https://order.li.fi/docs#tag/solver-api/post/quotes/submit) endpoint.
***
## Step 2: Address Registration
You must prove ownership of the wallet addresses you will use to fill intents.
1. **Sign Message:** Use your solver wallet to sign the registration message provided by the Order Server (supports ECDSA or EIP-1271).
2. **Submit Pairing:** Send the signature and address to the registration endpoint:
* [`POST /solver-api/account/register`](https://order.li.fi/docs#tag/solver-api/post/solver-api/account/register)
Each address can only be tied to one API key. If it is not possible to sign messages from your solver, the LI.FI team can manually add a solver address.
***
## Step 3: Testnet/Mainnet Testing (ExclusiveFor Mode)
Before being whitelisted for the LI.FI API, you must prove your execution logic works on mainnet. You can test using either the Lintent UI or the LI.FI Intents MCP Server — both are equally valid approaches.
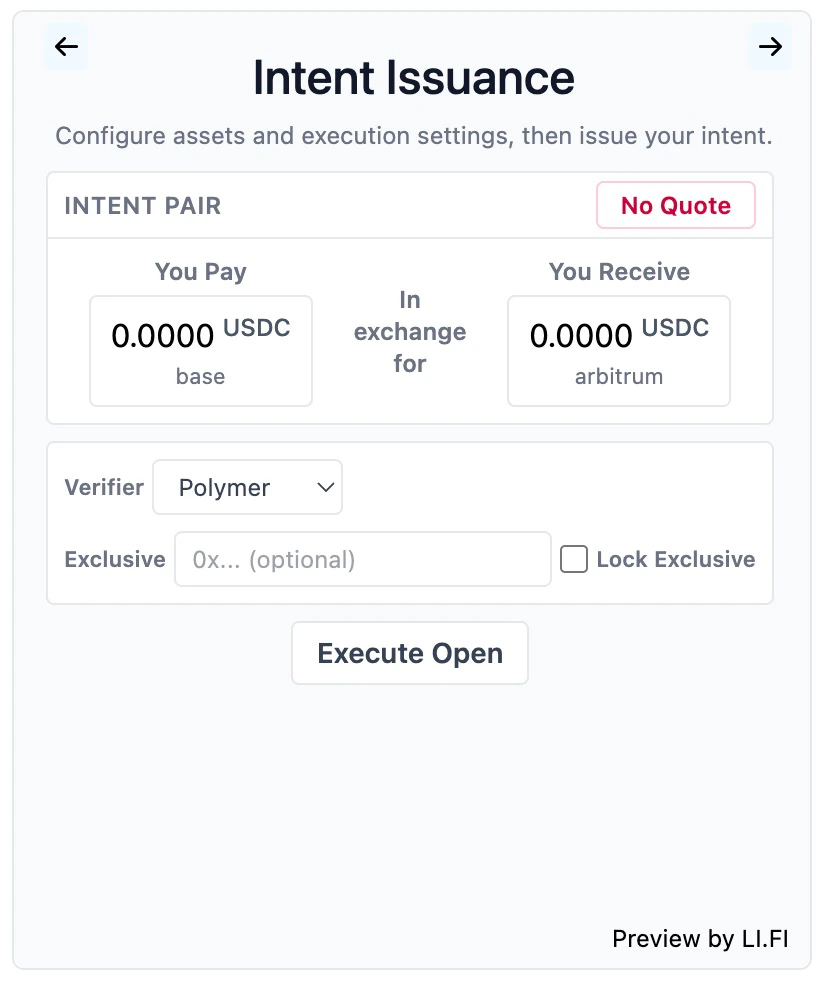
### Manual Testing via Lintent
1. **Open Lintent:** Go to [lintent.org](https://lintent.org/).
2. **Configure Intent:** Set up a swap/bridge intent. Use "Escrow" input instead of "The Compact".
3. **Set Exclusivity:** Manually enter your registered solver address into the `exclusiveFor` field. This ensures only your solver can fill this specific intent.
4. **Execute:** Issue the intent and verify that your solver picks up the quote and completes the fill.
 ### Programmatic Testing via MCP
The [LI.FI Intents MCP Server](/lifi-intents/mcp-server/overview) gives AI assistants the ability to manage cross-chain escrow orders and solver operations through natural language — replacing the manual Lintent UI workflow with programmatic access.
Use the same `exclusiveFor` approach, but driven by AI tools instead of a web UI:
1. Connect the MCP server to your AI tool (see [Installation](/lifi-intents/mcp-server/installation))
2. Use `request-quote` to get pricing for your test swap
3. Use `prepare-order` and `submit-order` to issue the intent
4. Monitor with `track-order` and verify your solver completes the fill
Quickstart, architecture, and environments
Setup for Claude, Cursor, VS Code, and more
Full reference for all 13 tools
Workflows, prompts, and settlement flow
### Programmatic Testing via MCP
The [LI.FI Intents MCP Server](/lifi-intents/mcp-server/overview) gives AI assistants the ability to manage cross-chain escrow orders and solver operations through natural language — replacing the manual Lintent UI workflow with programmatic access.
Use the same `exclusiveFor` approach, but driven by AI tools instead of a web UI:
1. Connect the MCP server to your AI tool (see [Installation](/lifi-intents/mcp-server/installation))
2. Use `request-quote` to get pricing for your test swap
3. Use `prepare-order` and `submit-order` to issue the intent
4. Monitor with `track-order` and verify your solver completes the fill
Quickstart, architecture, and environments
Setup for Claude, Cursor, VS Code, and more
Full reference for all 13 tools
Workflows, prompts, and settlement flow