Next.js
LI.FI 组件 与 Next.js 应用程序完全兼容,需要最少的配置即可无缝集成。
由于 Next.js 中服务器端渲染(SSR)的性质以及不同钱包库管理与钱包扩展连接的方式,LI.FI 组件需要在客户端专门渲染。为了实现这一点,请使用 'use client'
指令,确保组件仅在客户端环境中渲染。
请查看我们在组件仓库中的完整示例这里 。
如果您使用带有 App Router 的 Next.js,以下示例显示如何将组件添加到页面:
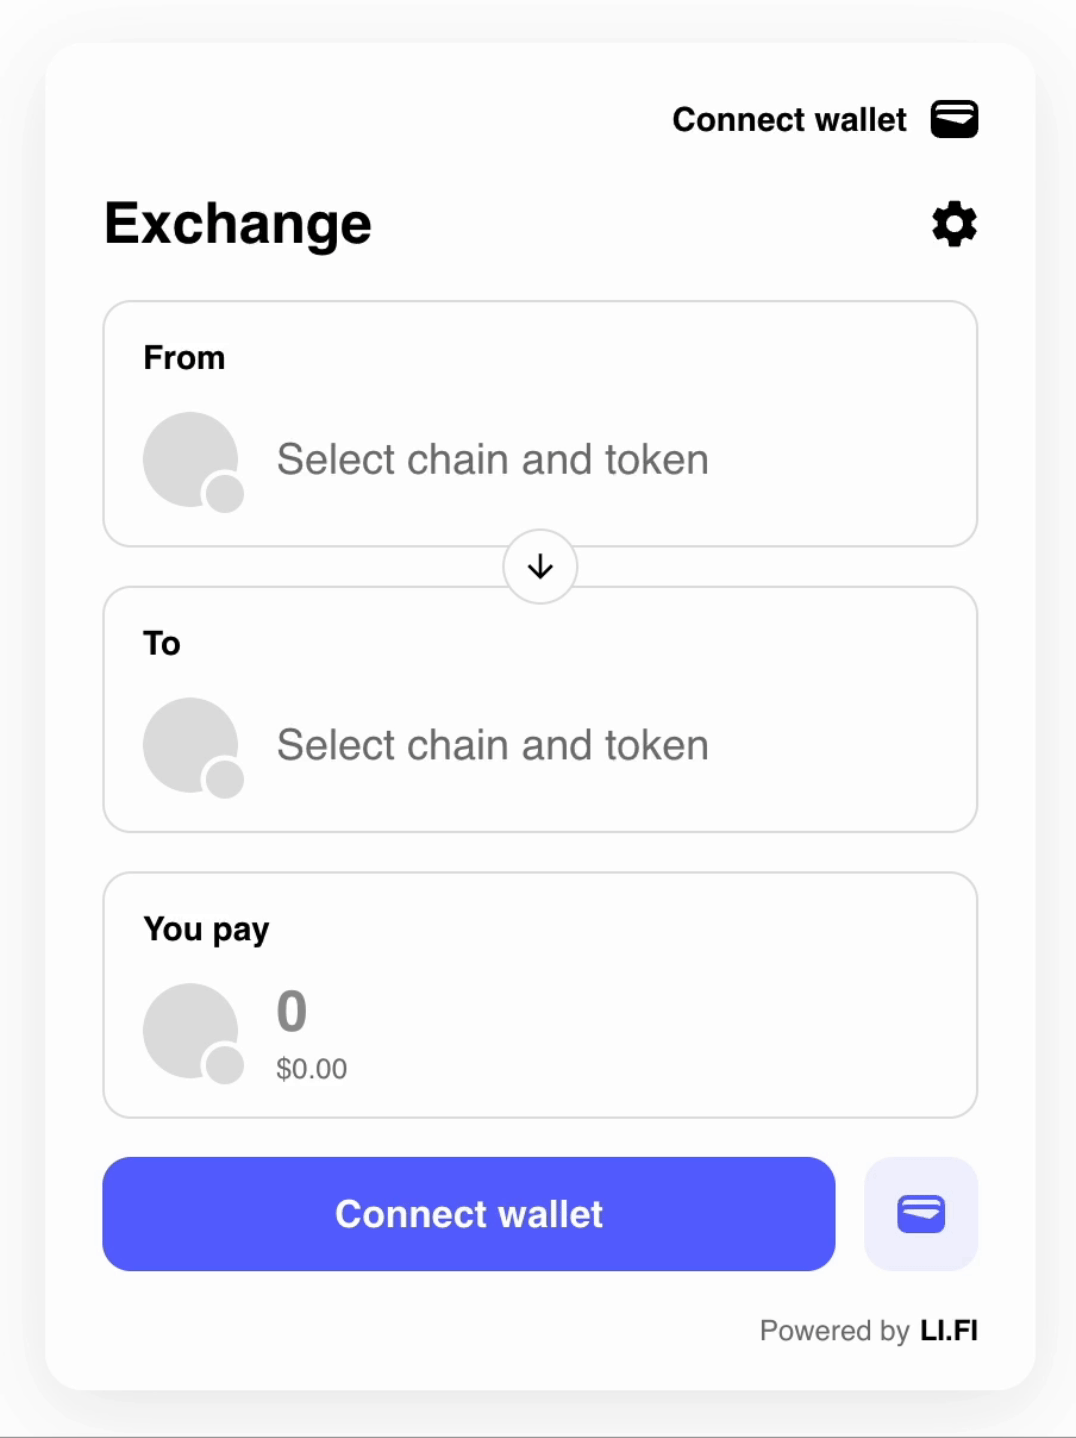
Widget.tsx
ClientOnly.tsx
page.tsx
'use client' ;
import type { WidgetConfig } from '@lifi/widget' ;
import { LiFiWidget , WidgetSkeleton } from '@lifi/widget' ;
import { ClientOnly } from './ClientOnly' ;
export function Widget () {
const config = {
appearance: 'light' ,
theme: {
container: {
boxShadow: '0px 8px 32px rgba(0, 0, 0, 0.08)' ,
borderRadius: '16px' ,
},
},
} as Partial < WidgetConfig >;
return (
< div >
< ClientOnly fallback = {<WidgetSkeleton config = { config } /> } >
< LiFiWidget config = { config } integrator = "nextjs-example" />
</ ClientOnly >
</ div >
);
}
If you are using Next.js with the Pages Router, you need to import the LI.FI Widget dynamically:
import dynamic from 'next/dynamic' ;
const LiFiWidget = dynamic (() => import ( '@lifi/widget' ). then ( mod => mod . LiFiWidget ), {
ssr: false ,
loading : () => < div > Loading LI.FI Widget... </ div >
});
export function Widget () {
const config = {
appearance: 'light' ,
theme: {
container: {
boxShadow: '0px 8px 32px rgba(0, 0, 0, 0.08)' ,
borderRadius: '16px' ,
},
},
} as Partial < WidgetConfig >;
return (
< LiFiWidget config = { config } integrator = "nextjs-example" />
);
}
As you can see from the Next.js example, for users convenience we provide the WidgetSkeleton
component that can be used as a fallback while the main widget component is being loaded.
The WidgetSkeleton
component is currently only tested with中 Next.js environment and might not work with other SSR frameworks.
Remix, Nuxt, Gatsby etc.
Please check out our complete examples for Remix, Nuxt and Gatsby.
We are continuously working on improving our support for more frameworks.